Linux 通过 nvm 安装 Node
字数 1.1k / 4 min 读完 / 阅读在 CentOS 7 下,无法安装 Node 18 以上版本,该如何解决?本文给出完整步骤与常见错误的处理。
安装nvm
- 下载 压缩文件并解压到指定文件夹
sudo chmod 777 /.nvm  # 获取权限

cd / # 打开根目录

wget https://github.com/nvm-sh/nvm/archive/refs/tags/v0.39.1.tar.gz # 下载文件

mkdir -p /.nvm  # 创建nvm文件夹

ll -a # 查看目录

tar -zxvf v0.39.1.tar.gz -C .nvm  # 解压文件
- 修改 .bashrc 文件
vim ~/.bashrc
export NVM_DIR="/.nvm/nvm-0.39.1"  # 注意版本号
[ -s "$NVM_DIR/nvm.sh" ] && \. "$NVM_DIR/nvm.sh"  # This loads nvm
[ -s "$NVM_DIR/bash_completion" ] && \. "$NVM_DIR/bash_completion"  # This loads nvm bash_completion
source ~/.bashrc
- 验证是否安装成功
nvm ls
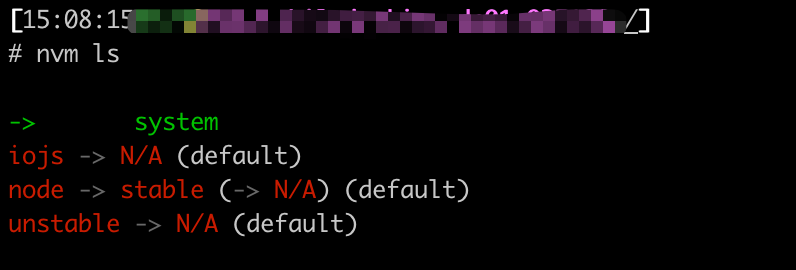
这样就说明安装成功了,然后根据自己的需求安装相应的node
- 安装node
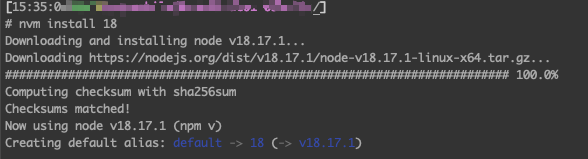
nvm install 18
- 验证是否可用
node -v
安装 C++ 基础依赖
如果根据上面的步骤执行完,可以看到node版本返回,那么就成功了,就不需要看下面的了。
如果出现下面报错,则需要根据下面步骤解决:
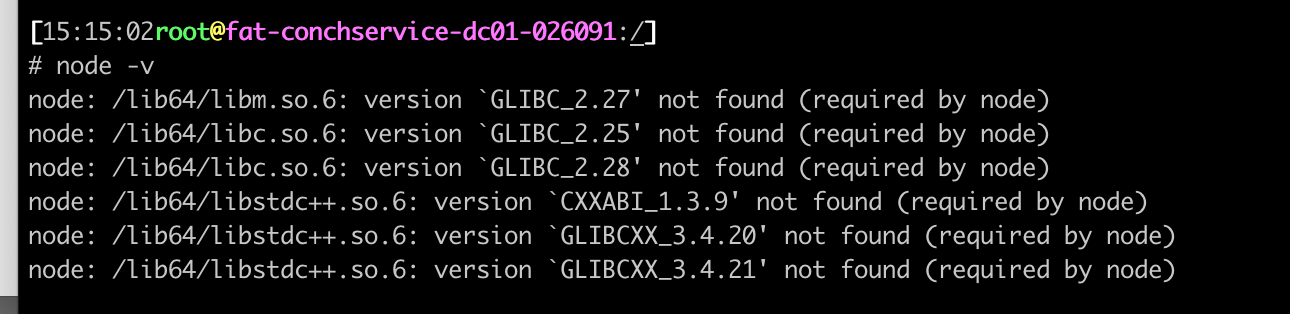
出现这个报错的原因是:新版的node v18开始 都需要GLIBC_2.28支持,可是目前系统内却没有那么高的版本。
解决 GLIBC 问题
可以根据需求在 http://ftp.gnu.org/gnu/glibc/ ,找到需要的版本,这里使用2.28版本
cd /

wget http://ftp.gnu.org/gnu/glibc/glibc-2.28.tar.gz

tar xf glibc-2.28.tar.gz

cd glibc-2.28/ && mkdir build  && cd build

../configure --prefix=/usr --disable-profile --enable-add-ons --with-headers=/usr/include --with-binutils=/usr/bin
根据上面步骤安装完后,可能会出现以下错误,没出现错误的可以跳过。
- 错误1
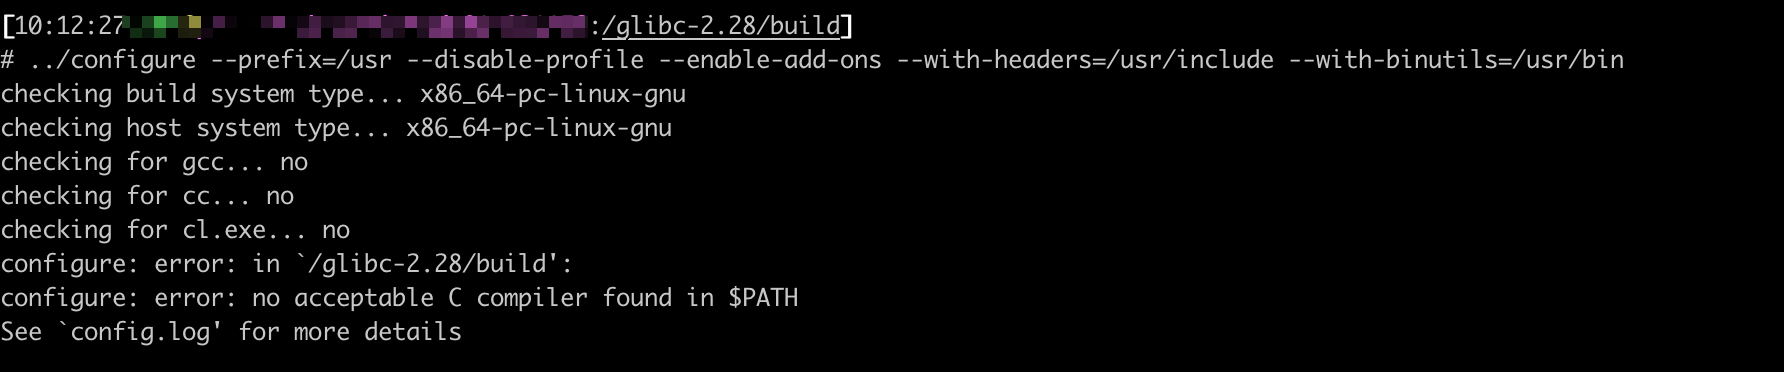
原因是gcc 不存在,需要安装gcc, yum install gcc
安装后,继续执行上面的命令
- 错误2

解决办法:升级gcc与make
# 升级GCC(默认为4 升级为8)
yum install -y centos-release-scl
yum install -y devtoolset-8-gcc

mv /usr/bin/gcc /usr/bin/gcc-4.8.5
ln -s /opt/rh/devtoolset-8/root/bin/gcc /usr/bin/gcc
mv /usr/bin/g++ /usr/bin/g++-4.8.5 # 如果出现不存在,跳过,直接执行下面命令
ln -s /opt/rh/devtoolset-8/root/bin/g++ /usr/bin/g++

# 升级 make(默认为3 升级为4)
cd /
wget http://ftp.gnu.org/gnu/make/make-4.3.tar.gz
tar -xzvf make-4.3.tar.gz && cd make-4.3/
./configure  --prefix=/usr/local/make
make && make install
cd /usr/bin/ && mv make make.bak
ln -sv /usr/local/make/bin/make /usr/bin/make
返回目录执行
cd /glibc-2.28/build

../configure --prefix=/usr --disable-profile --enable-add-ons --with-headers=/usr/include --with-binutils=/usr/bin
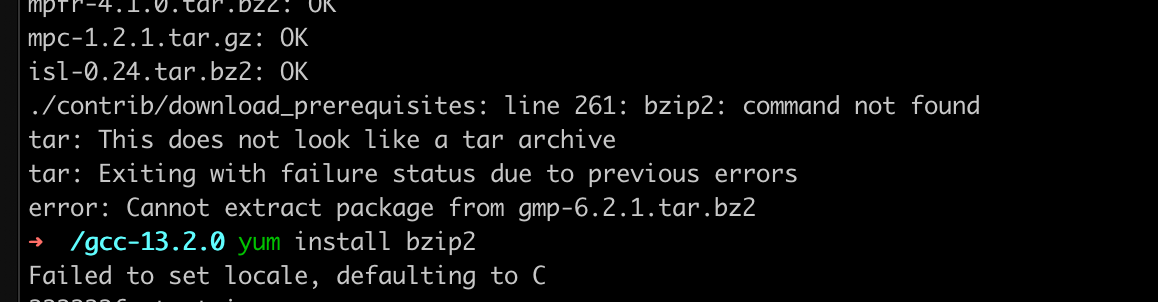
- 错误3

安装 yum install bison
到这里所有问题解决完了。
cd /glibc-2.28/build

../configure --prefix=/usr --disable-profile --enable-add-ons --with-headers=/usr/include --with-binutils=/usr/bin
然后就执行 make && make install,开始编译吧,大概需要半小时时间。
参考:[node: /lib64/libm.so.6: version `GLIBC_2.27′ not found - 丁少华 - 博客园](https://www.cnblogs.com/dingshaohua/p/17103654.html)
解决 GLIBCXX 问题

问题跟上面其实是一样的,缺少GLIBCXX依赖
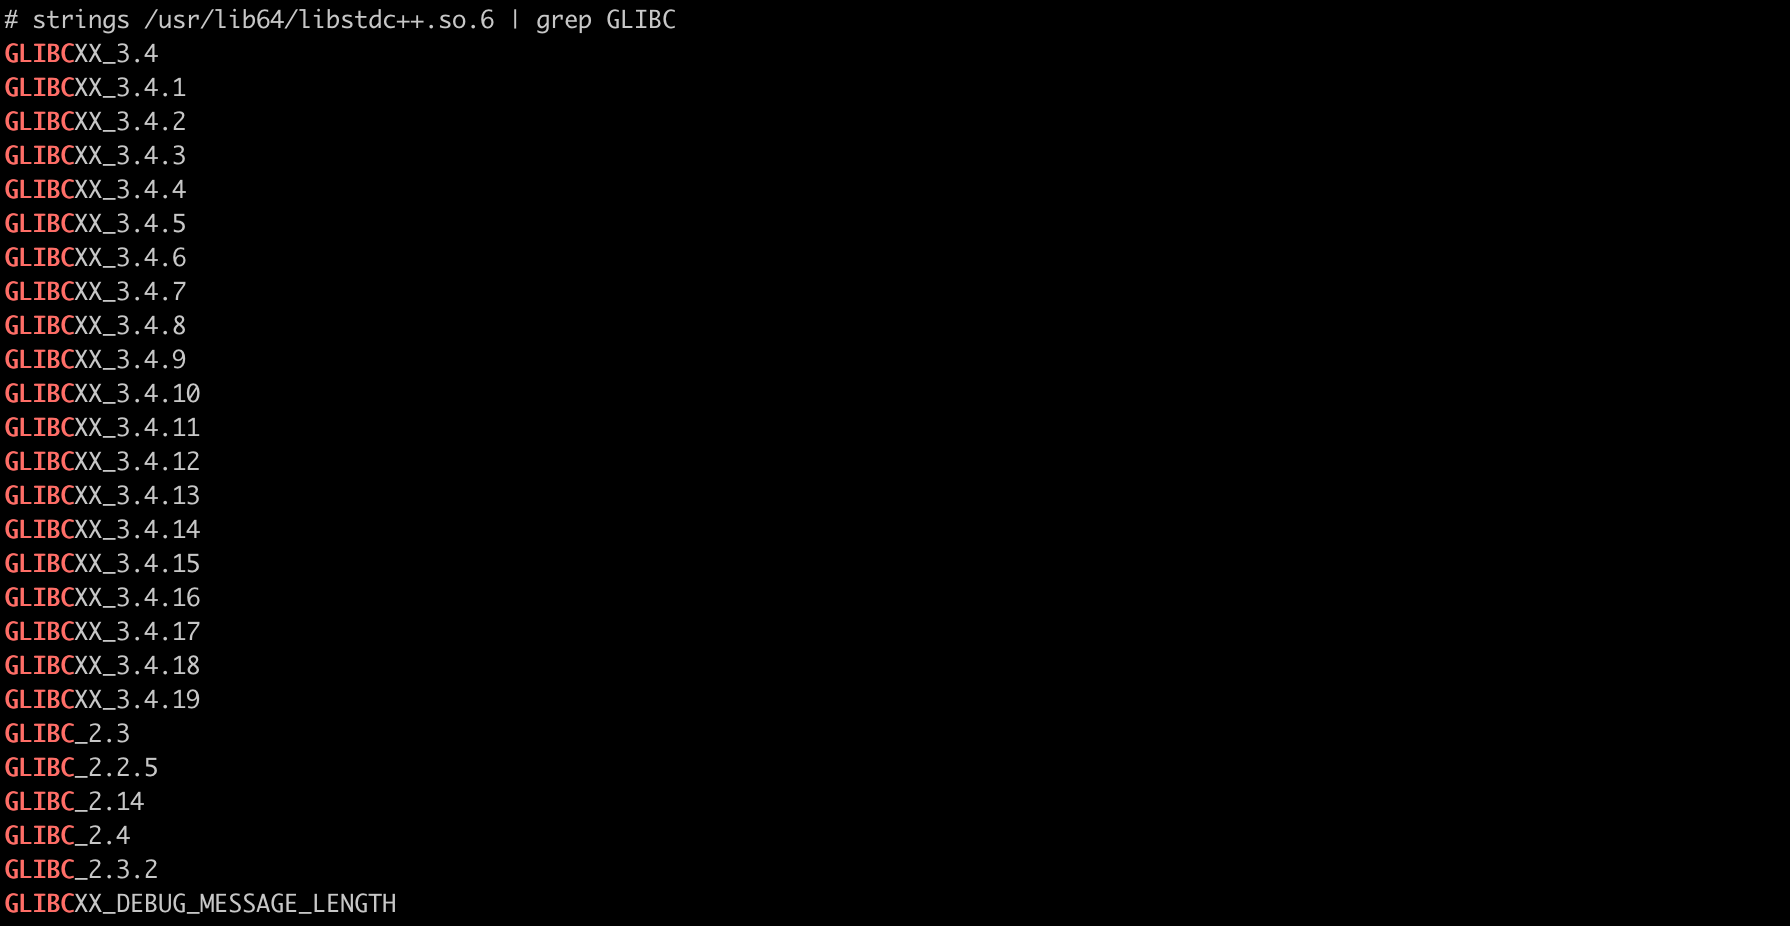
- 首先检查,当前系统的动态库
strings /usr/lib64/libstdc++.so.6 | grep GLIBC
会发现确实不存在我们需要的依赖
- 检查当前动态库的位置和版本
find / -name libstdc++.so.6*

发现我们系统本地也不存在新的动态库,那只能去升级了
- 下载gcc版本,选择最新的
cd /

wget https://ftp.gnu.org/gnu/gcc/gcc-13.2.0/gcc-13.2.0.tar.gz  --no-check-certificate

tar -zxvf  gcc-13.2.0.tar.gz  # 解压

cd gcc-13.2.0

./contrib/download_prerequisites # 下载各项依赖

mkdir build && cd build

../configure --enable-checking=release --enable-languages=c,c++ --disable-multilib

make && make install  # 需要几个小时时间(我花了4个小时),耐心等着吧
- 检查 gcc 版本,
gcc -v
可能出现错误:
- 创建软链接
查找GCC编译时生成的最新的动态库位置
find / -name "libstdc++.so*"
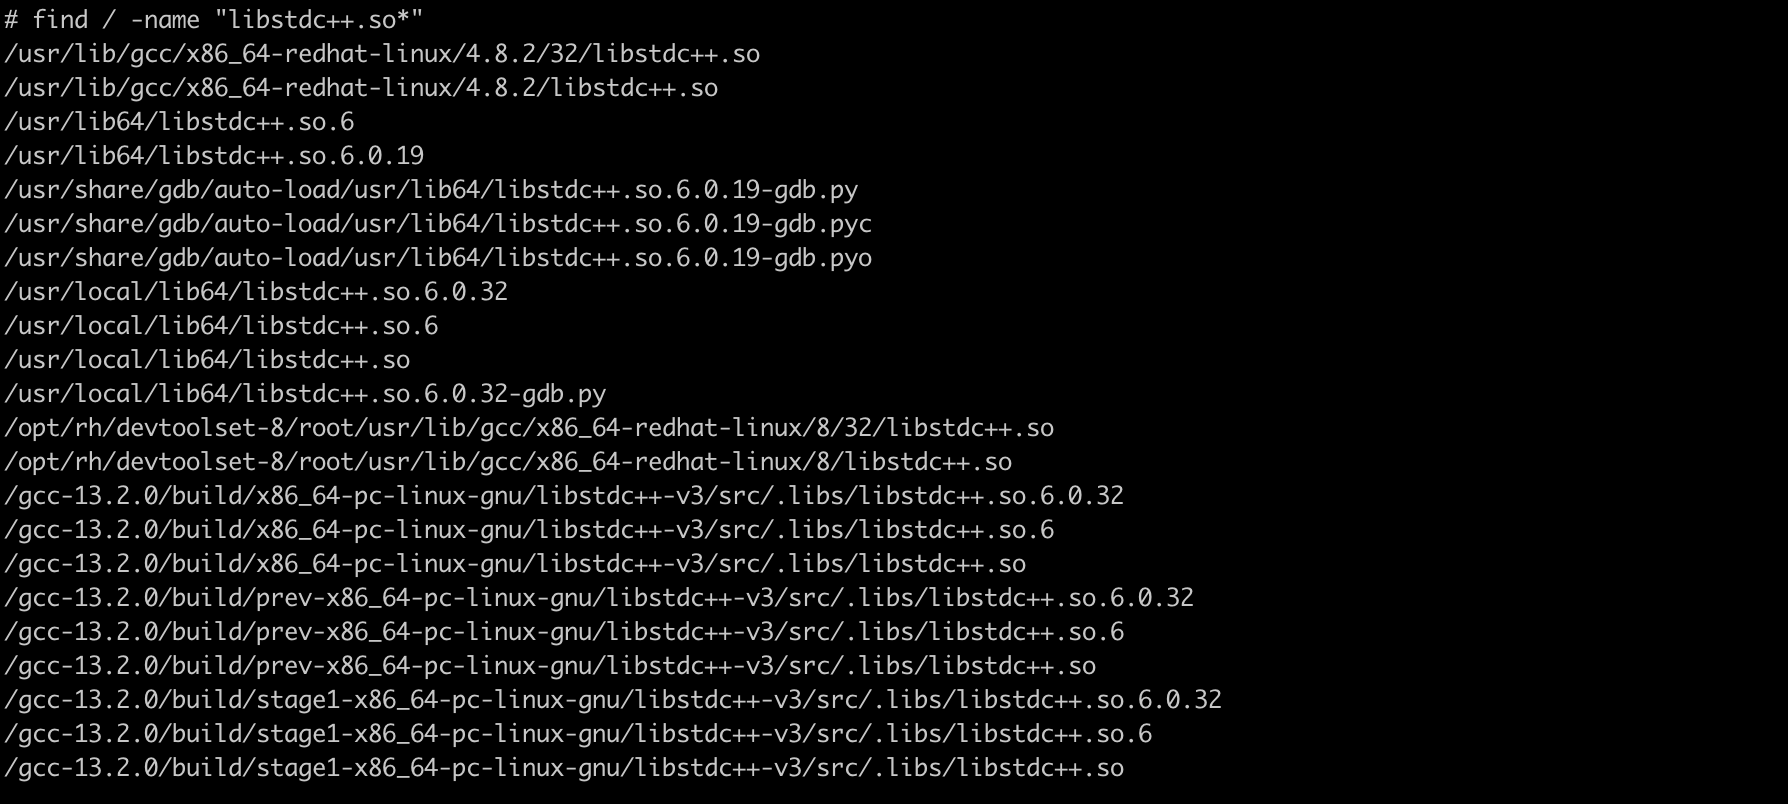
可以看到,有更高的版本 <font style="color:rgb(77, 77, 77);">/usr/local/lib64/libstdc++.so.6.0.32</font>
cp /usr/local/lib64/libstdc++.so.6.0.32 /usr/lib64/

cd /usr/lib64/

rm libstdc++.so.6

ln -s libstdc++.so.6.0.32 libstdc++.so.6
最后 执行 node -v,如果展示node版本,就说明大功告成了